What is Maputnik?
Maputnik is a vector tile visual style editor that is easy to use, free and open source. It is a style editor with immediate feedback to create Mapbox GL styles using the Mapbox GL style specification. Maputnik does not require a cloud based deployment and will run on your local machine.
Installing Maputnik
- Download the latest Maputnik release from here.
- Under Assets, click on and download public.zip to your local drive.
- Move the unzipped contents of public.zip into a directory (i.e $Home/Document/Maputnik/public).
- Open your terminal window, and be sure you are in the directory with those contents.
- Run your web-server to start the Maputnik style editor:
http-server -p 8000
Using Maputnik
-
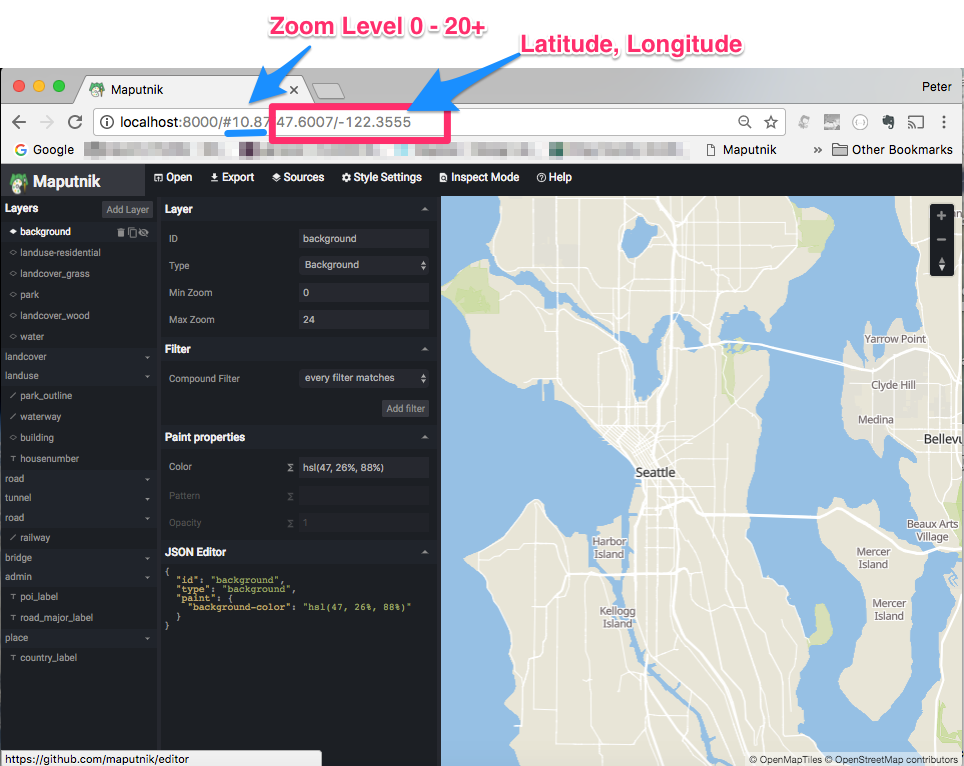
Go open a browser and enter localhost:8000 to start styling vector tiles with Maputnik.
-
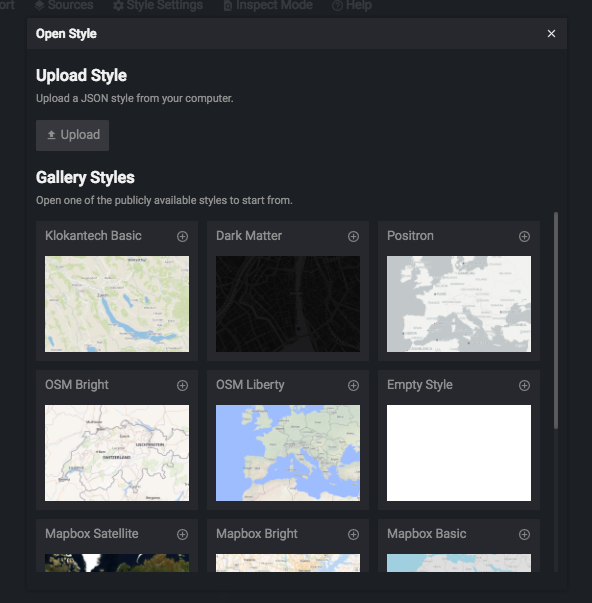
Select a basemap style to choose from Gallery Styles
- Start Tileserver-gl to serve the previously generated vector tiles.
- Load the King County Block Group vector tiles.
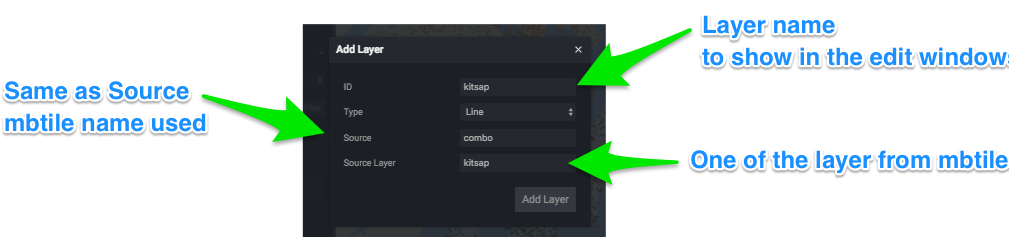
- Load the data by clicking on Sources
- Hint: To delete any source, one must remove it from layer list first.
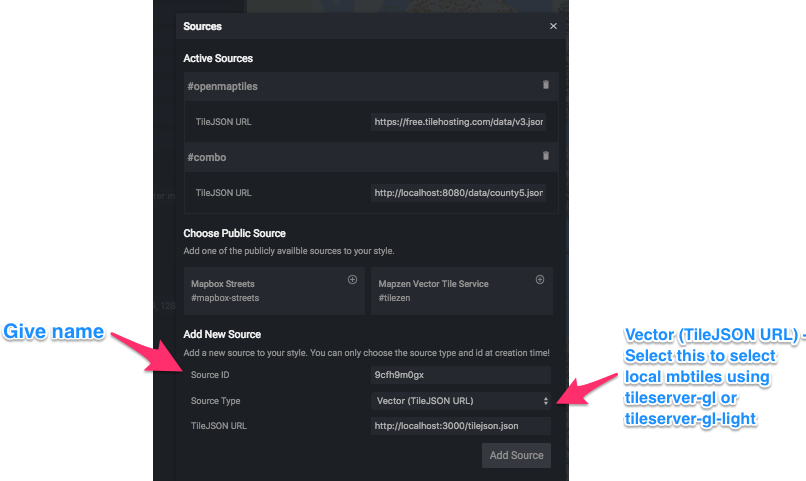
- Source ID: Give a name associate with the data
- Source Type: Select GeoJSON or Vector (TileJSON URL)
- TIleJSON URL: Copy url of locally hosted vector tile
- Hint: To delete any source, one must remove it from layer list first.
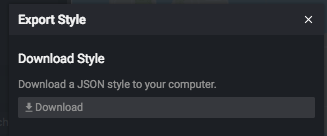
- Export Style JSON file locally. This includes references to the basemap, and your own styled vector tiles.